

This was the form that I decided on, back when we had to do sketch models and renders. One of the things I decided on for this form is that it was slightly too fat, and for an elegant corporate gift, it needs to be a bit slimmer and have more of a fluid, natural shape.
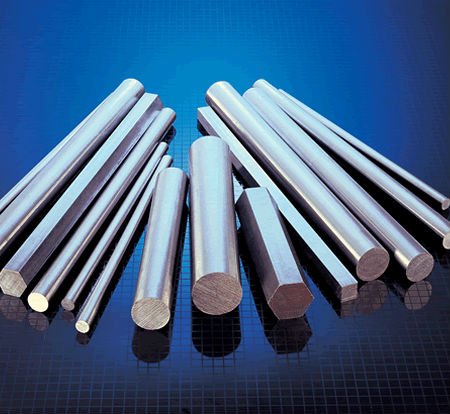
Since I want to achieve a bright, polished look with my metal, I decided to go with an aluminium bar, similar to the ones seen above. I'm working with a 50 mm bar I got at the Massey University shop (Shamelessly passing myself off as one of their students to access their shop!). The bar was 230mm long, so more than long enough to get my model done on our CNC lathe.
 This is look at the technical stuff on Solidworks. After much worry about tool selection, I managed to produce something that was going to turn out as something. The program we had to work our way through was an absolute nightmare at times, but ultimately I ended up with something that was going to be possible to make.

I blitzed through it all to be first in line to use the CNC lathe, and thank goodness I did, because that list grew extremely quickly. Once my model came out of the lathe, it looked a lot like a small, thick spear, as I hadn't had it chopped off yet. After deliberating for ages, I jumped on the metal bandsaw and cut the top piece off my model, at a different angle to the one I previously planned, because I decided I wanted more of the overall form visible as a whole.
 This is the total shape, with the top sitting in its place, slightly lop-sided, admittedly. Once I bandsawed the tope section off, I filed it down, allowing for the shape that I needed to be made to fit the hole that I drilled and filed.
 This shows the shape that I have drilled into the slope of the top, where the top section can then sit. The hole in the top I drilled after the shape was dissected, so as to preserve the top piece. The bottom piece I then also polished, so as to achieve a mirror-finish, something I'm sure I'll revisit as the project hand-in date draws nearer.
Keep an eye on more to come!
Image acquired from: http://i01.i.aliimg.com
Since I want to achieve a bright, polished look with my metal, I decided to go with an aluminium bar, similar to the ones seen above. I'm working with a 50 mm bar I got at the Massey University shop (Shamelessly passing myself off as one of their students to access their shop!). The bar was 230mm long, so more than long enough to get my model done on our CNC lathe.


A little 3-D Print of the shape I'm going to be creating!
I blitzed through it all to be first in line to use the CNC lathe, and thank goodness I did, because that list grew extremely quickly. Once my model came out of the lathe, it looked a lot like a small, thick spear, as I hadn't had it chopped off yet. After deliberating for ages, I jumped on the metal bandsaw and cut the top piece off my model, at a different angle to the one I previously planned, because I decided I wanted more of the overall form visible as a whole.


Keep an eye on more to come!
No comments:
Post a Comment