
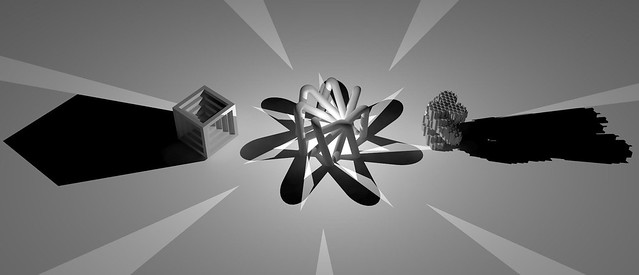
I actually really really like this first render of the three. Expanding on my lighting techniques from one of my previous posts, I laid out my models in a very linear fashion. Nigh on no colour, just the simple standard material, but it looks really good! My tutor suggested that I try a wider, more elongated canvas, so that I could catch all the shadows, a crucial part of my concept.
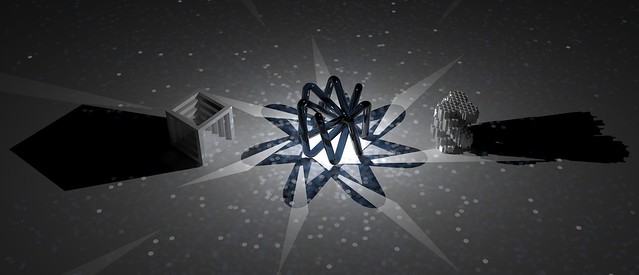
For this render, I turned back to my dear friend; Caustics. The thing I'm really pleased worked well was the white saw-blade style star at the base of the model. This point of intense brightness draws the eyes of the user in, and the dappled light all over the stages looks really neat. Possibly may need to tone down the caustics a little, as it can be a bit distracting.


I altered the size of the outer two models for this render, testing to see if I could get them closer to the main models, while at the same time not interfering with the shadows of that model. The result is really nice, although I think I need to make the outer models a bit smaller. They feel as if they are taking up a bit too much space and interfering with the feel of the shadows.
Lots to think about!
No comments:
Post a Comment